
A risk management plan is far more than just a formal document; it's the operational playbook for how your organisation will pinpoint, evaluate, manage, and keep an eye on potential risks. For Australian SMEs, especially those in high-risk sectors like construction, this isn't simply about paperwork. It's a proactive strategy to protect your crew, stay on the right side of the law, and carve out a real competitive advantage by developing a comprehensive risk management process.
Essentially, a well-structured risk management plan shifts your entire business posture from just reacting to incidents to systematically preventing them from ever happening.
Why Your Business Needs a Risk Management Plan
Let's be honest—creating another plan can feel like one more compliance task on an already overflowing to-do list. But what if that plan was the key to landing bigger contracts and building a safer, more productive team?
A solid risk management plan, particularly one that aligns with ISO 45001, helps you get ahead of the game. It’s about creating a system that anticipates and neutralises hazards before they can cause any harm, rather than just cleaning up the mess afterwards. This project risk management framework is essential for sustainable growth.

We've seen it time and again: Australian businesses in construction, manufacturing, and field services that use their safety plans as a strategic tool get real, measurable results. This isn't just about ticking boxes for Safe Work Australia; it’s about fostering a robust safety culture that truly protects your people and fuels genuine growth. This systematic approach to risk identification and mitigation is what sets leading companies apart.
The Tangible Benefits of a Proactive Safety Strategy
When you get your risk management plan right, the benefits ripple out well beyond the worksite. It becomes a core part of how you operate, influencing everything from staff morale right through to your bottom line.
Here’s what you stand to gain from a robust risk management process:
- Winning More Work: Many government and large private-sector tenders now list ISO 45001 certification or a proven safety management system as a prerequisite. Your plan is your ticket in.
- Reducing Costs: Fewer incidents mean fewer workers' compensation claims and, often, lower insurance premiums. You also cut down on the hidden costs of project delays and equipment damage.
- Improving Productivity: It’s simple—a safe workplace is a productive one. When your team feels secure, they're more focused, efficient, and engaged in their work.
- Strengthening Reputation: A clear commitment to safety speaks volumes, enhancing your brand's reputation with clients, your employees, and the wider community.
Driving Growth and Protecting Your Team
The link between formal safety systems and better outcomes is undeniable. In Australia, the uptake of ISO 45001 certifications has exploded, jumping from 6,157 to 9,467 in a single year—that’s a massive 53.7% increase.
The data paints an even clearer picture: certified organisations recorded just 11 workplace fatalities compared to 45 among their non-certified peers. That's a 75% reduction in deaths.
This shift is no accident. Businesses are waking up to the fact that a systematic approach to risk management builds a more resilient and competitive organisation.
A risk management plan is not an expense; it is an investment in your people, your projects, and your company's future. It demonstrates to clients that you are a reliable partner who manages projects professionally and responsibly.
By putting safety first, you create a powerful positive feedback loop. A safer environment means fewer disruptions, which leads to more consistent project delivery and happier clients. This approach doesn't just stop bad things from happening; it actively generates positive results, cementing your position as a leader in your industry.
Defining Your Scope and Uncovering Hidden Hazards
Before you can get a handle on workplace risks, you’ve got to draw a clear line in the sand. The first real step in any solid risk management plan is defining its scope—pinpointing exactly what locations, activities, people, and gear your safety system is responsible for. Without that clarity, your efforts can get watered down and lose focus.
Just think about the difference between a sprawling construction site with multiple contractors and a self-contained manufacturing workshop. The scope for the building site has to cover shared spaces, public access, and work that changes daily. On the other hand, the workshop’s scope can be much tighter, zeroing in on specific machinery, chemical storage, and set production lines.
Nailing down your scope makes sure that every other step, from finding hazards to putting controls in place, is relevant and on-target. It answers the big question: "What are we actually responsible for protecting here?"
Establishing Clear Boundaries for Your Safety System
To define your scope, you need to document the operational, physical, and organisational boundaries of your Occupational Health and Safety (OH&S) management system. This isn't just about ticking boxes; it gives essential context to your entire plan.
When you're setting your scope, think hard about these key areas:
- Physical Locations: List every single site your plan applies to. This could be one factory, a few different office locations, or even the temporary worksites your field service teams visit all over Australia.
- Organisational Activities: Get specific about the work processes you're covering. Things like "metal fabrication and welding," "installation of residential solar panels," or "operation of heavy machinery on civil construction projects."
- Personnel: Spell out who is covered. This should always include your full-time and part-time staff, but don't forget contractors and even visitors who set foot on your worksites.
Think of a well-defined scope as the constitution for your safety system. It stops critical areas from falling through the cracks and makes sure everyone knows the boundaries. It’s the foundation you build everything else on.
Once these boundaries are set and written down, you've got a solid framework to work from. This clarity is a game-changer for your internal teams, and it shows auditors and clients you’re taking a systematic, thorough approach to safety.
Practical Methods for Hazard Identification
With your scope locked in, the next job is to build a comprehensive 'hazard library' that reflects the real dangers your team faces every day. Sure, generic checklists are a decent starting point, but genuine safety comes from digging up the specific hazards in your unique environment. Spotting hazards effectively is an ongoing conversation, not a one-off task.
This means looking past the obvious stuff and hunting for those hidden or slow-burn dangers that could eventually lead to an incident. A proactive approach means you’re out there actively looking for trouble spots before they find you.
Looking Beyond the Obvious Dangers
To build a hazard identification process that actually works, you need to come at it from a few different angles. If you just rely on one method, you're guaranteed to have blind spots in your risk management plan.
For a much clearer picture, try combining these practical approaches:
- Conduct Thorough Workplace Inspections: Don't just do a quick walkthrough. Systematically inspect every area you defined in your scope, watching tasks as they happen. You're looking for things like unguarded machinery, messy work areas, tripping hazards, and unsafe shortcuts people are taking.
- Facilitate Candid Worker Consultations: The people on the tools have invaluable insights. Hold regular safety meetings or just have one-on-one chats and ask them what they think is risky. They're the ones who know about the unofficial workarounds and the subtle dangers a manager might walk right past. According to Safe Work Australia, talking with your workers isn't just good practice—it's a legal requirement.
- Analyse Past Incident Reports: Your own history is one of your best teachers. Dive into all your incident, accident, and near-miss reports to find recurring themes or hazards. This data can show you patterns linked to certain equipment, tasks, or even times of the day.
- Assess Psychological and Ergonomic Stressors: Hazards aren't just physical. You also need to consider sources of work-related stress, like impossible workloads or workplace bullying. At the same time, look at ergonomic risks such as repetitive tasks or poorly set-up workstations that can lead to musculoskeletal injuries down the track.
By mixing these methods together, you create a rich, multi-layered picture of your workplace hazards. This detailed "hazard library" is the critical information you'll need for the next stage: conducting a practical risk assessment.
How to Conduct a Practical Risk Assessment
You've got your list of workplace hazards, but let's be honest, it can be overwhelming. Where do you even begin? A trailing power cord is a problem, sure, but it’s not in the same league as unguarded machinery. This is exactly why a practical risk assessment is the next critical step in your risk management plan.
This isn't about getting lost in complex formulas. It’s a straightforward, systematic way to sort through the dangers you've found, helping you prioritise what truly matters. It’s how you figure out which risks need your immediate attention and which ones can be scheduled for later, ensuring you put your resources where they’ll make the biggest difference.
The flowchart below shows how hazards typically flow from the workplace itself to the worker, eventually getting documented in reports.

As you can see, the workplace, the worker, and the reporting process are all interconnected. A good assessment looks at all these pieces.
Breaking Down Likelihood and Consequence
At its core, every risk assessment boils down to two simple questions:
- Likelihood: How likely is it that this hazard will actually harm someone?
- Consequence: If it does happen, how bad will the injury or illness be?
Answering these two questions for each hazard allows you to assign it a risk rating. Suddenly, that long, intimidating list of problems transforms into a clear, prioritised action plan. The most common tool for this job is a risk matrix.
Using a Risk Matrix to Prioritise Action
A risk matrix is just a simple grid that helps you visually plot the likelihood of something going wrong against how severe the outcome would be. It gives you an instant rating—usually colour-coded as low, medium, high, or extreme—telling you exactly what to tackle first.
Let's look at a couple of real-world examples for Australian SMEs:
Manufacturing Scenario: Imagine an old lathe in a workshop with its safety guard missing.
- Likelihood: A machinist uses it every single day for detailed work, their hands getting very close to the moving parts. You’d have to rate the likelihood of an incident as ‘Likely’.
- Consequence: If their hand slips, we’re talking severe cuts, amputation, or worse. The consequence is easily ‘Major’ or even ‘Catastrophic’.
- Risk Rating: When you plot that on a matrix, it lands squarely in the ‘Extreme’ risk category. This needs to be fixed. Now.
Construction Scenario: A crew is working on a two-storey house using a mobile scaffold, but they haven't installed all the handrails to save time.
- Likelihood: Multiple tradies are up and down that scaffold all day. The chance of someone falling is definitely ‘Possible’.
- Consequence: A fall from that height is going to cause serious fractures, a head injury, or a fatality. The consequence is ‘Major’.
- Risk Rating: This combination gives you a ‘High’ risk rating. It might not be as certain as the unguarded lathe, but it still demands immediate and firm action to make it safe.
To make this tangible, a risk matrix is your best friend. It provides a consistent framework for everyone in the business to evaluate and talk about risk.
Sample Risk Assessment Matrix
| Likelihood | Insignificant | Minor | Moderate | Major | Catastrophic |
|---|---|---|---|---|---|
| Almost Certain | Medium | Medium | High | Extreme | Extreme |
| Likely | Low | Medium | High | High | Extreme |
| Possible | Low | Medium | Medium | High | High |
| Unlikely | Low | Low | Medium | Medium | High |
| Rare | Low | Low | Low | Low | Medium |
By plotting your hazards on a matrix like this one, you remove the guesswork. It helps you focus your efforts on the 'Extreme' and 'High' risks first, which is where you can make the most significant impact on safety.
By visually mapping your hazards, the risk matrix cuts through the noise. It transforms subjective feelings about danger into an objective, prioritised list that directs your entire safety strategy.
This systematic approach is the engine room of a compliant and effective risk management plan. The output of your assessment directly feeds into your risk register—the central document for tracking and managing all your safety actions. For a detailed walkthrough on setting one up, check out our guide on how to create a risk register. And for more insight into the broader implications, it's worth reading about reducing legal risks through better HR risk assessments.
Once you've completed this assessment, you'll have a ranked list of risks. That clarity is priceless. It shows you precisely where to invest your time, money, and energy to best protect your team.
Putting Controls in Place That Actually Work
Now that you've pinpointed and ranked your biggest hazards, it's time to move from planning to doing. This is where the rubber meets the road—selecting and implementing practical controls to either eliminate or seriously reduce the risks you've uncovered. The aim here isn't just to tick a box; it's about putting the most effective solution in place.
It's tempting to jump straight to the easiest fix, which often means handing out some personal protective equipment (PPE). A hard hat or a pair of gloves feels like a quick win, but in reality, they're the last and weakest line of defence. Real safety leadership means thinking bigger.
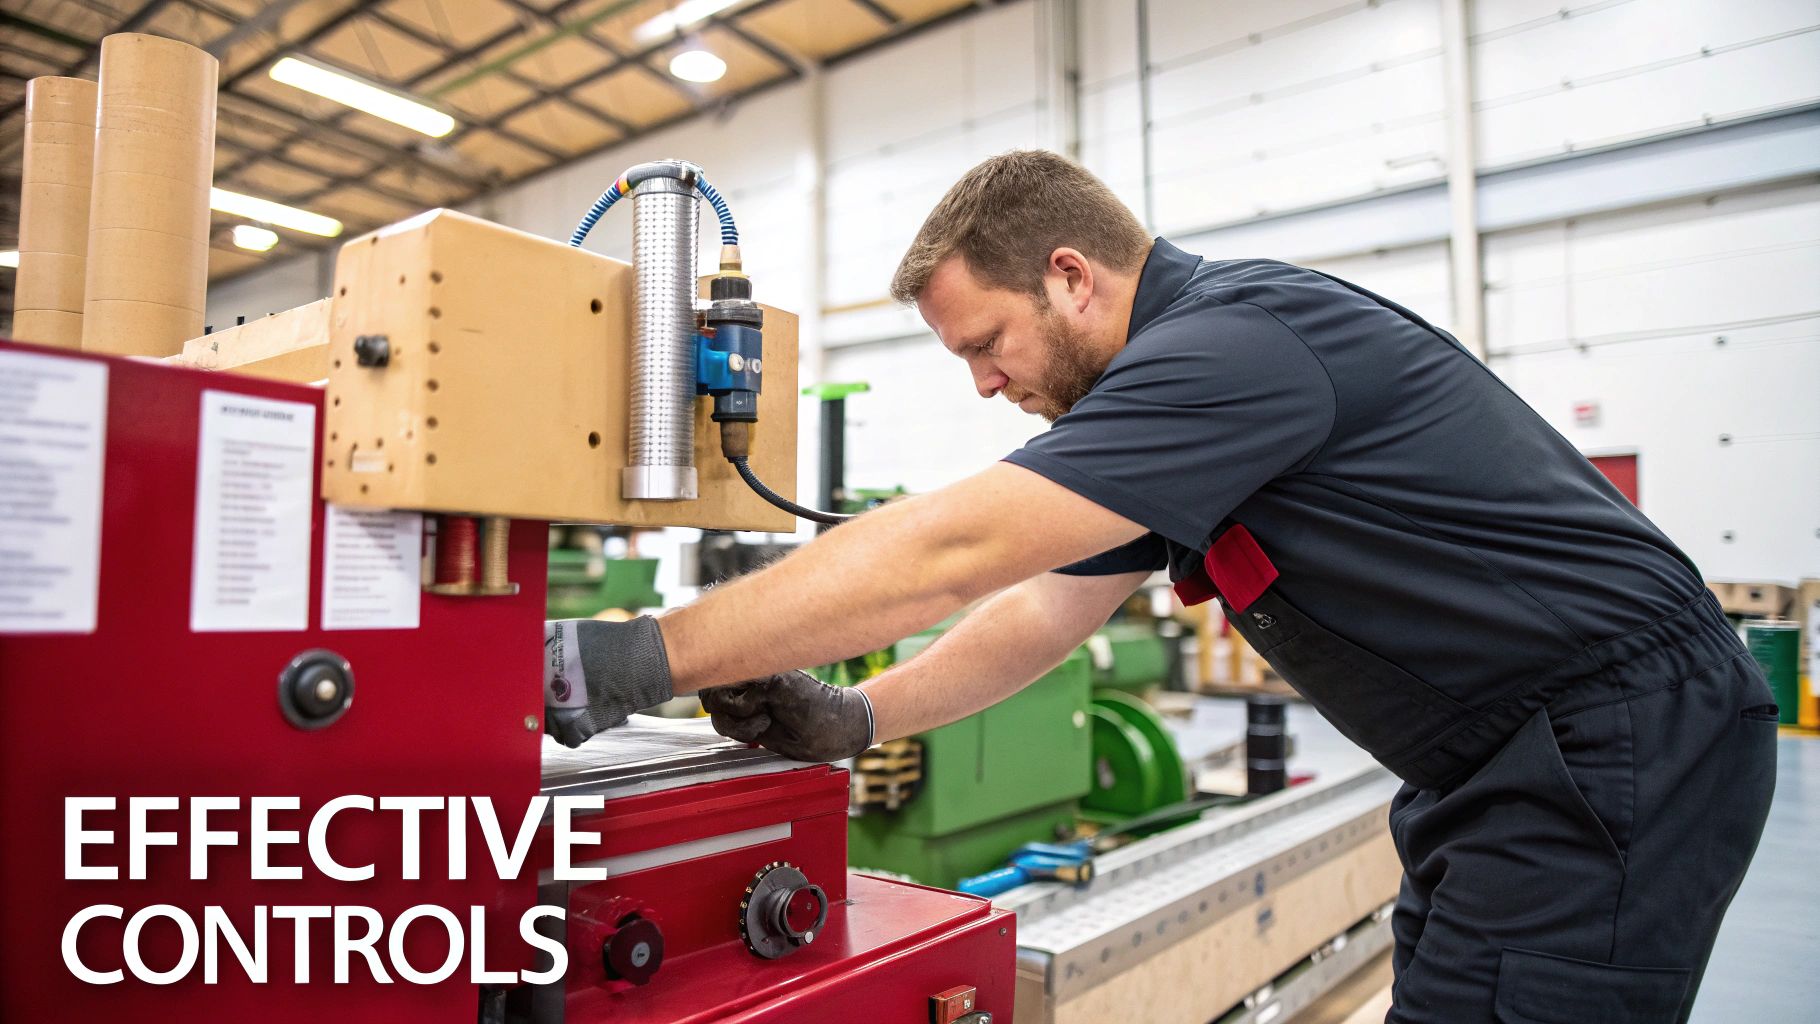
To make sure we're choosing the best options, we rely on a tried-and-tested framework called the Hierarchy of Controls. It’s a simple but powerful model that forces you to start with the most robust solutions first, only moving down the list when higher-level controls aren't feasible.
Getting to Grips with the Hierarchy of Controls
Think of the Hierarchy of Controls as an upside-down pyramid, ranked from the most effective measure at the top to the least effective at the bottom. For every high-priority risk you've identified, you should start at the top and ask, "Can we do this?" before even considering the next level down.
Here’s what it looks like in practice for Australian SMEs:
Elimination: The absolute best-case scenario. You physically remove the hazard from the workplace entirely.
- Construction: Instead of having chippies work at height building wall frames, prefabricate the frames on the ground. Then, just use a crane to lift the completed sections into place. The risk of falling from that height is completely gone.
- Manufacturing: A workshop stops using a toxic solvent for cleaning parts and switches to a simple, non-hazardous water-based detergent. The chemical exposure hazard has been eliminated.
Substitution: If you can't eliminate the hazard, can you replace it with something safer?
- Field Services: A team using a noisy petrol generator inside a poorly ventilated service pit swaps it for a battery-powered unit. This gets rid of the dangerous carbon monoxide fumes.
- Manufacturing: You replace an old, screamingly loud piece of machinery with a modern, quieter model, significantly reducing the risk of permanent hearing damage for operators.
Engineering Controls: These are physical changes to the workplace or equipment that isolate people from the hazard.
- Construction: You install proper guardrails around an open trench or along the edge of a roof.
- Manufacturing: You fit a machine with a fixed guard that makes it impossible for an operator to reach the moving parts, or install a local exhaust ventilation (LEV) system to suck welding fumes away at the source.
Administrative Controls: This involves changing the way people work through new procedures, extra training, or clear signage.
- Construction: You roll out a strict permit-to-work system for any high-risk jobs, like entering a confined space or performing a complex lift.
- Field Services: You schedule heavy manual handling tasks for the morning when workers are fresh and rotate staff through the job every hour to prevent fatigue and strain.
Personal Protective Equipment (PPE): The last resort. This is wearable equipment designed to protect the worker.
- All Industries: This is your standard gear—hard hats, safety glasses, hi-vis vests, and steel-capped boots. You only rely on PPE when you've exhausted all other more effective options.
Relying on PPE as your main defence is a strategic error. It puts all the pressure on the individual to wear it, wear it correctly, and wear it 100% of the time. Higher-level controls are far more reliable because they engineer the risk out of the system itself.
Turning Good Ideas into Action
Once you’ve worked your way down the hierarchy and picked the best control for a particular risk, you need an action plan. A brilliant idea is useless without someone to own it and a deadline to get it done.
For every control measure you choose, your risk management plan must clearly document these key details:
- What needs to be done? Be specific. Not "Improve safety," but "Install fixed guardrails along the northern edge of the mezzanine level."
- Who is responsible? Name a person or a role. "John Smith, Maintenance Manager," is much better than "the maintenance team."
- When will it be done by? Set a realistic but firm deadline. "By 30 November."
- How will we check it's working? Define how you'll verify success. "Final inspection and sign-off by the Safety Officer."
This approach creates genuine accountability and ensures your safety plans actually leave the page and make a difference on the ground. As you implement these physical controls, it's also smart to think about other business risks. For instance, many companies are now looking into strategies for fraud risk reduction using a biometric approach to safeguard company data and assets from modern threats. This systematic mindset—from spotting a hazard to confirming it's controlled—is what transforms a document into a living, breathing safety system.
Keeping Your Risk Plan Alive and Effective
Let's be honest, a risk management plan that just gathers dust in a filing cabinet is completely useless. Its real value comes from being a living, breathing document that evolves right alongside your business. True safety isn’t a set-and-forget task; it’s an ongoing cycle of checking, tweaking, and improving to keep up with the real-world demands of your workplace and the ISO 45001 standard.
This constant attention is what turns a good plan into a great one. It’s how you make sure the controls you've so carefully put in place are actually working on the ground and that your entire safety system stays relevant, effective, and ready for any audit that comes your way.
The Critical Role of Documentation and Record Keeping
Clear, organised documentation is the absolute backbone of a solid safety system. This isn't about creating paperwork for the sake of it. It’s about having tangible proof that your plan is active and that you're meeting your legal and ethical responsibilities. Your records tell the story of your safety journey, plain and simple.
For your risk management plan to be compliant, your records need to be easy to find, easy to understand, and easy to review.
Here are the key records you must maintain:
- The Risk Register: This is your central document. It needs to be updated every time a new hazard is found, a risk is reassessed, or a control is changed.
- Training Records: Keep a detailed log of all safety training. You need to know who was trained, on what topics, and when. This is your proof of worker competency.
- Inspection and Maintenance Logs: Document every single inspection of equipment, machinery, and the workplace, along with any maintenance or repairs you’ve carried out.
- Incident Reports: Thoroughly document every incident, accident, and near-miss. This includes the investigation findings and, most importantly, the corrective actions taken.
- Meeting Minutes: Keep records of safety committee meetings, toolbox talks, and any other time risks and controls were discussed with the team.
Think of your documentation as your business's safety memory. Without it, you're doomed to repeat past mistakes and you have no way to prove your diligence to an auditor or a client.
Proactively Monitoring Your Safety Controls
Monitoring isn't about sitting back and waiting for something to go wrong. It's about getting out there and actively checking that your safety controls are doing the job they're supposed to. This active oversight is what keeps your plan from becoming a static, irrelevant document.
You need to weave this monitoring into your daily, weekly, and monthly operations so it just becomes part of how you do business.
Practical Ways to Monitor Controls
Effective monitoring means getting out from behind the desk and seeing what’s actually happening on the worksite or factory floor. It’s a mix of formal checks and informal observations that gives you a complete picture of your safety performance.
Here are a few practical methods you can start using straight away:
- Regular Site Inspections: Schedule systematic walkthroughs of your workplace. Don’t just wander around; use a checklist based on your risk register to make sure you're looking for specific hazards and verifying that controls (like machine guards or handrails) are in place and working properly.
- Team Safety Meetings: Use your toolbox talks and team meetings as a two-way street. Ask your crew directly if the current safety procedures are practical. Are they actually effective? Their feedback from the frontline is gold for finding controls that look good on paper but fail in the real world.
- Behavioural Observations: Casually and informally watch how people are working. Are they following the safe work procedures you’ve set out? Are they taking shortcuts? These simple observations can reveal huge gaps between your documented procedures and what actually happens on a busy day.
Using Leading and Lagging Indicators
To get a true gauge of your safety performance, you need to track two different types of data: leading and lagging indicators. If you only look at one, you're getting an incomplete and often misleading picture.
- Lagging Indicators are reactive. They measure failures after they've happened. Think of things like the number of injuries, lost time incidents, or workers' compensation claims. This data is vital for spotting trends, but it only tells you about the past.
- Leading Indicators are proactive. They measure the positive actions you're taking to prevent incidents before they can even occur. This is where you can really move the needle on safety.
Some powerful leading indicators you could track include:
- The percentage of safety inspections completed on schedule.
- The number of safety observations or near-misses reported by workers.
- The percentage of your team that has completed specific safety training.
- The number of hazards identified and fixed within a set timeframe.
By focusing on leading indicators, you shift your mindset from counting failures to celebrating proactive safety efforts. This continuous improvement cycle—Plan, Do, Check, Act—is the engine of a successful risk management plan and the key to not just achieving, but effortlessly maintaining your ISO 45001 certification.
Your ISO 45001 Questions, Answered
When you're deep in the weeds of building an ISO 45001-compliant risk management plan, a few questions always seem to pop up. We get these all the time from business owners and safety managers across Australia, so let's clear up some of the most common points of confusion.
How Often Should We Review Our Risk Management Plan?
The standard says at least annually, but the real answer is: whenever things change. Think of your plan as a living document, not something you write once and file away.
A review is definitely needed when you:
- Bring in new machinery or equipment.
- Change a core work process or procedure.
- Have an incident, accident, or even a close call.
- New health and safety laws or regulations are passed.
Staying on top of this ensures your plan actually reflects the reality of your workplace, which is the whole point.
What’s the Difference Between a Hazard and a Risk?
This is a classic, and getting it right is fundamental to a solid risk assessment. It’s actually pretty simple.
A hazard is anything with the potential to cause harm. Think of a wet floor, an unguarded saw blade, or a drum of chemicals. It’s the source of the danger.
A risk is the chance of that hazard actually hurting someone, factored in with how bad the harm could be. We identify the hazards so we can properly understand and control the risks they create.
A simple way I explain it: A shark is a hazard. The risk of a shark attack while you're swimming in a locked, inland pool is practically zero. Context is everything.
Do We Need Special Software to Manage Our Plan?
Absolutely not. ISO 45001 doesn't mandate any specific technology. While big, complex operations might find dedicated safety software useful, it's often overkill for a small or medium-sized business here in Australia.
Honestly, a well-organised system using spreadsheets and documents can work perfectly well. What matters to an auditor—and what keeps your team safe—is that your system is effective, everyone can access what they need, and you actually use it consistently. The tool itself is far less important than the process.
At ISO45001 Consulting, we help Australian businesses work through these questions every single day. We build practical safety systems that have led to a 100% certification success rate for our clients. We take the complexity out of compliance, turning your risk management plan into a genuine asset that helps you build a safer workplace and win bigger contracts. Find out how we can help at https://iso45001.net.au.
Recent Comments